 Lynden Siding
 Building New in Maple Falls: Why the Window Install Matters Before Siding Goes On
If you're framing a new home or outbuilding in the Maple Falls area, the window install happens at a point in the build where mistakes are cheap to fix and, once siding and trim close everything up, nearly impossible to correct without tearing into finished work. New-construction window installation is different from a retrofit or replacement job — the window, the water-resistive barrier (WRB), the flashing, and the siding all have to work together as one system. Get that sequence right the first time and the house stays dry for decades. Get it wrong, and you're chasing rot behind the trim in five to ten years.
We install new-construction windows for builds and additions around Lynden and out toward Maple Falls regularly, and the process is the same core discipline every time: flash the rough opening correctly, set the window level and plumb, integrate it properly with the WRB, and leave a clean, sealed transition for the siding crew that follows. What changes from house to house is how much margin you build in for the local climate — and out toward Maple Falls, that margin needs to be generous.
What Whatcom County Weather Asks of a New Window Install
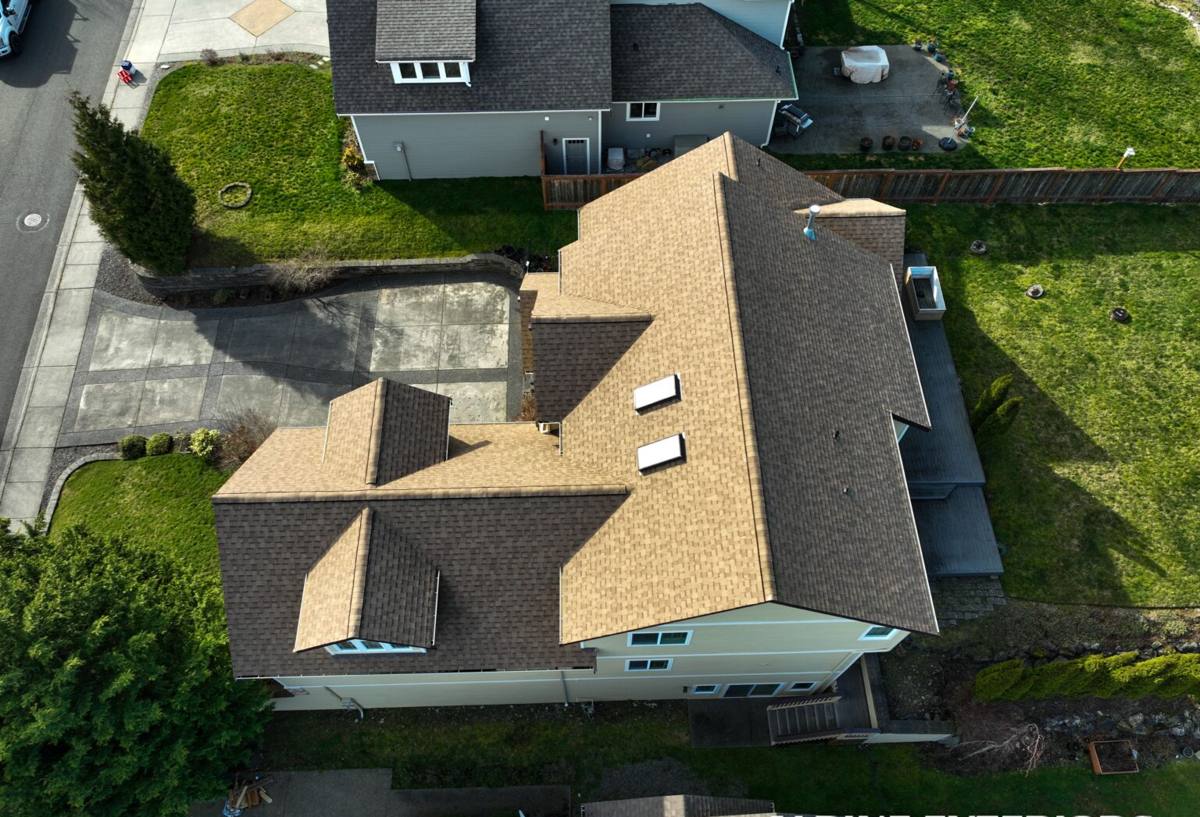
Whatcom County homes deal with a long wet season, driving rain that comes in sideways during winter storms, and — closer to the water and lowlands — salt-laden air that accelerates corrosion on hardware and fasteners. Maple Falls sits up toward the Mt. Baker foothills, with more tree cover and shade than the open valley floor around Lynden, which brings its own version of the same problem: moisture that lingers longer because the sun and wind don't dry things out as fast.
Rain and Moisture Management
New-construction windows rely on a layered water management system — sill pan, flashing tape, WRB, and head flashing — to stay dry even when wind-driven rain gets past the exterior cladding (and eventually, it will). In a region with our rainfall totals, that layering isn't optional detailing; it's the difference between a window that lasts the life of the house and one that causes a rot repair before the mortgage is paid off.
Moss, Shade, and North-Facing Walls
Homes tucked into tree cover or built on north-facing slopes hold moisture longer, and that's exactly the kind of moss and mildew season Whatcom County is known for. Moss itself doesn't damage a window, but the conditions that grow moss — shade, standing moisture, poor airflow — are the same conditions that turn a small flashing gap into a slow leak. We pay extra attention to head flashing and drainage detailing on shaded elevations for exactly this reason.
New-Construction vs. Retrofit Windows: Why It's a Different Job
A lot of homeowners assume "new windows" is one job. On a new build, it's a fundamentally different install method than replacing an existing window in a finished wall, and the two shouldn't be priced or planned the same way.
| Factor | New-Construction Install | Retrofit / Replacement Install |
|---|---|---|
| Window type | Nail-fin frame, installed into open rough framing | Insert or flush-fin frame, fit into existing opening |
| Access to framing | Full access to studs, sheathing, WRB | Limited — existing siding and trim stay in place |
| Flashing | Built from scratch, fully integrated with WRB | Tied into existing flashing where possible |
| Best used when | New home, addition, or full wall rebuild | Existing home keeping its siding and trim |
| Long-term risk if done wrong | Hidden rot behind new siding | Leaks around the existing opening |
New-construction is the more forgiving job to do correctly — you have full access to the framing and WRB — but it's also the job where a shortcut is most likely to get buried and forgotten. That's the trade-off: more opportunity to do it right, and more consequence if it isn't.
What a Correct New-Construction Window Install Involves
Sill Pan and Rough Opening Prep
Every rough opening should get a sloped sill pan — either a manufactured pan or a properly built-up flashing membrane — so any water that does get past the window has somewhere to go besides the framing below it. This is one of the most commonly skipped steps on production builds because it takes extra time, and it's also the step most likely to prevent a real problem down the road.
Nailing Fin and WRB Integration
The window's nailing fin has to be sealed to the WRB in the correct shingle-lap order — sill first, then sides, then head — so water draining down the wall is always directed over the next layer down, never behind it. Tape and sealant matter here, but sequence matters more; the best flashing tape on the market fails if it's lapped backward.
Window Selection for the Foothills
For homes further out toward Maple Falls with more shade and tree cover, we also talk through frame material and glass package with the homeowner up front, since those homes hold onto moisture and cooler temperatures longer than open valley lots.
Our Process for New Construction in the Maple Falls Area
- Rough opening check — verify size, plumb, level, and square before any window is set.
- Sill pan installation — sloped drainage path built into every opening, no exceptions.
- Window set and fasten — shimmed square and plumb, fastened per manufacturer spec so warranty coverage stays intact.
- Flashing integration — sides and head flashed in proper shingle-lap sequence with the WRB.
- Interior and exterior seal — low-expansion foam and sealant at the interior, weep paths kept clear at the exterior.
- Documentation — photos of the flashing and sill pan before siding closes it up, so there's a record if it's ever needed.
That last step matters more than most homeowners realize. Once siding goes on, nobody can see the flashing work again without removing it. A crew that photographs the install before it's covered is a crew that's confident in what they did.
Choosing Frame Materials for a Maple Falls Build
| Frame Material | Strengths | Trade-offs for This Climate |
|---|---|---|
| Vinyl | Lower cost, low maintenance, good energy performance | Can expand/contract more in temperature swings; quality varies widely by manufacturer |
| Fiberglass | Very stable dimensionally, strong moisture resistance, long service life | Higher upfront cost than vinyl |
| Wood-clad | Traditional interior look, good insulating value | Exterior cladding and seals need to be flawless — wood-clad frames are less forgiving of installation errors in a wet climate |
We don't push one material on every job. For homes further from town with more moisture exposure and less sun drying, we tend to steer homeowners toward vinyl or fiberglass for the exterior-facing performance, and we're upfront if a wood-clad option means the installation detailing has to be that much more precise to avoid moisture problems later.
Mistakes We See on New Builds — and Build Our Process to Avoid
- Skipping the sill pan because "the flashing tape will handle it" — tape is a backup, not a substitute for a drainage plane.
- Flashing tape lapped in the wrong order, directing water behind the WRB instead of over it.
- Over-driven or under-driven fasteners on the nailing fin, which distorts the frame and can void the manufacturer's warranty.
- Foam sealant used as the only air seal at the interior, with no backer rod or sealant at the exterior joint.
- Weep holes blocked by sealant or debris, trapping water inside the frame instead of letting it drain.
- No photo documentation before siding covers the flashing work, leaving no record if a leak shows up years later.
Questions Worth Asking Before You Hire
- Do you install a sill pan on every rough opening, or only when asked?
- How do you sequence flashing tape with the WRB — sill, sides, then head?
- Will you photograph the flashing and sill pan before siding closes it in?
- What frame materials do you recommend for this specific lot, and why?
- Who handles the warranty if a window fails — you, or only the manufacturer?
- Have you worked on builds out in this area before, and do you know the local building department's inspection expectations?
Why Local Experience Around Maple Falls Matters
A crew that only works in one type of neighborhood tends to build habits around that neighborhood's conditions and stop questioning them. Out toward Maple Falls, with more tree cover, more shade, and generally wetter ground conditions than the open valley around Lynden, those habits need to flex — more attention to shaded elevations, more conservative flashing detailing, and material choices that account for slower drying. Whatcom County's wet season, driving rain, and long moss stretch aren't unique to any one neighborhood, but how much they matter for a given window opening depends on sun exposure, tree cover, and site drainage — details you only get right by having actually worked the area.
We also coordinate directly with builders and framers on new-construction jobs, which matters when the window schedule has to line up with the siding crew, the trim carpenter, and the building inspector. A window install that's out of sync with the rest of the build schedule causes delays for everyone; one that's in sync barely gets noticed, which is exactly the goal.
If you're planning a new build or addition in the Maple Falls area and want to talk through window selection, flashing detailing, or timing with your framing schedule, we're happy to walk the site and give you a straight answer. Reach out for a free, no-pressure estimate using the form below.