 Lynden Siding
 Windows Built for Wiser Lake, Not Just Installed There
Wiser Lake sits in a part of Whatcom County where weather doesn't take days off. Homes here deal with a steady mix of salt-laden air moving in off the Sound, driving rain that hits siding and window frames sideways for weeks at a stretch, and a moss season that stretches longer than most homeowners expect. Windows in this environment aren't just glass and trim — they're one of the first lines of defense against moisture getting into wall cavities. A window that's a good fit for a dry inland climate can struggle here if it isn't specified and installed with this specific exposure in mind.
Custom windows for a Wiser Lake home means matching the unit to the wall it's going into, the direction it faces, and the way water actually moves across this property type — not pulling a standard size off a shelf and hoping the gaps caulk up fine.
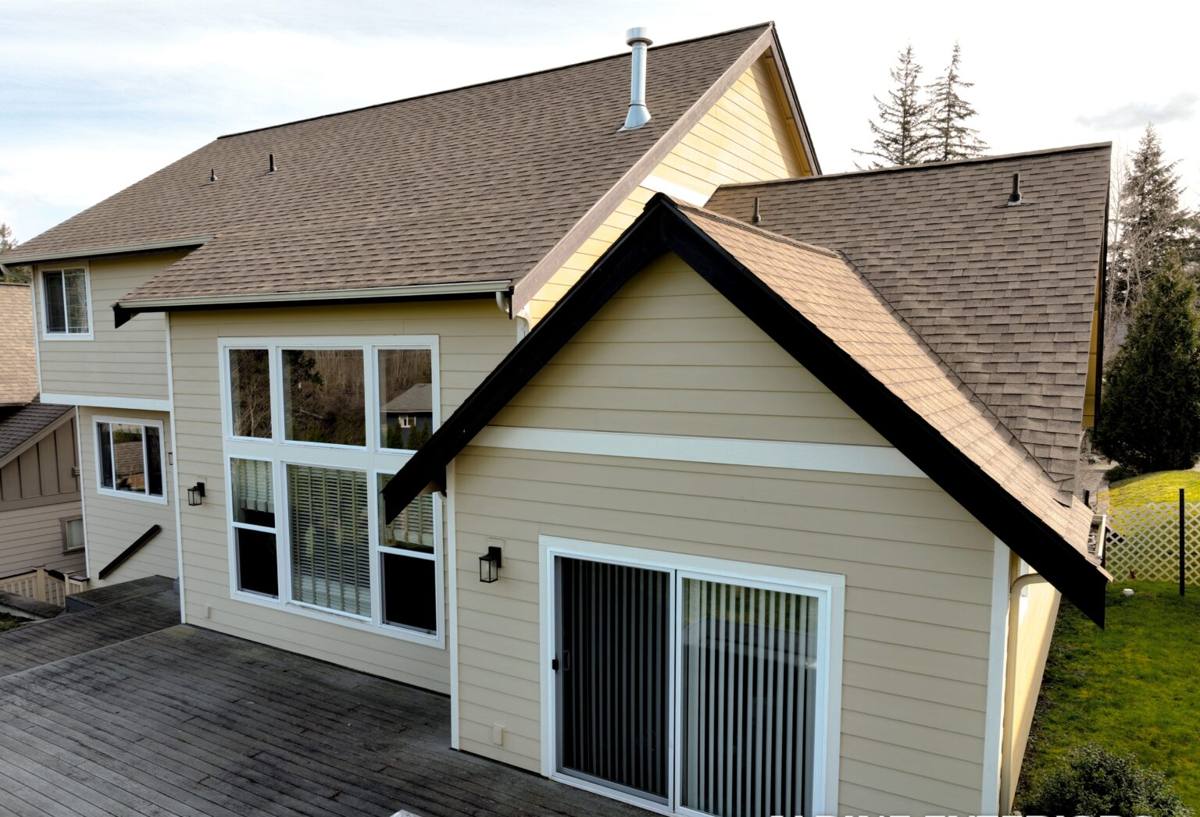
What "Custom" Actually Means for a Window Project
The word "custom" gets used loosely in this trade, so it's worth being specific. On most Wiser Lake homes, custom windows come into play in a few real ways:
- Replacing a window in an opening that isn't a standard manufactured size, common in older or additions-built homes around the lake
- Matching sightlines and trim profiles across a home so new windows don't look mismatched next to older ones staying in place
- Choosing frame and glass specs suited to a wall's actual sun and rain exposure rather than a one-size-fits-all spec for the whole house
- Sizing and shaping windows for a view — many Wiser Lake properties are oriented toward the water, and a poorly planned window here either wastes the view or oversizes the opening for the wall assembly behind it
None of that requires exotic materials. It requires accurate measuring, an honest look at the existing wall assembly, and a plan that accounts for how this property will actually be exposed to weather.
New Construction vs. Replacement
These are different jobs, and it matters which one you're actually doing. New construction windows get nailed directly to the framing with a flange, and the surrounding wall assembly — house wrap, flashing, siding — gets built around them from scratch. Replacement windows go into an existing opening where the exterior finish is staying put, which means the flashing and sealing work has to happen around materials that are already there. On a home near Wiser Lake, replacement work demands extra care, because any gap left in the old flashing detail becomes an entry point for wind-driven rain during the next storm off the water.
Material and Glass Choices for This Exposure
There's no single "best" window material — there's a best fit for the wall, the budget, and the maintenance appetite of the homeowner. Here's how the common options actually perform under Wiser Lake conditions:
| Frame Material | How It Handles Salt Air & Rain | Maintenance |
|---|---|---|
| Vinyl | Doesn't corrode from salt exposure; performs well if seams and welds are quality-built | Low — occasional cleaning, no repainting |
| Fiberglass | Very stable in temperature swings and wet-dry cycling, resists warping | Low to moderate |
| Wood-clad | Handsome look, but the wood core is vulnerable if the exterior cladding or sealant fails and moisture gets in | Higher — sealant and clad joints need periodic checking |
| Aluminum | Strong but a poor insulator and prone to condensation in our damp, cool months unless thermally broken | Moderate — watch for corrosion at coastal-influenced sites |
For most Wiser Lake homes we recommend vinyl or fiberglass as the practical baseline, with wood-clad reserved for homeowners who want that look and are prepared to keep an eye on the exterior seal over time. We're upfront about that trade-off rather than pushing a product that looks good on day one and creates a maintenance headache in year five.
Glass Packages
Double-pane, low-E glass with argon fill is the standard starting point for this climate, and it's usually the right call — it cuts heat loss, reduces condensation risk on the interior pane, and holds up well through our long wet season. Triple-pane adds cost and weight for a marginal performance gain in this particular climate zone; it's worth discussing case by case, but it isn't automatically the better choice just because it has more panes.
Where Window Installations Actually Fail Here
Most window failures we see aren't a defective unit — they're a flashing or sealing detail that didn't account for how water moves on this specific wall. The pattern is consistent enough to lay out plainly:
- Missing or reversed flashing laps — water needs a shingled path down and out, and a flashing piece installed in the wrong order sends it straight into the wall instead
- Gaps at the sill pan — the bottom of the opening takes the most water; a proper sill pan gives it somewhere to drain instead of pooling against the frame
- Under-sealed nail fins on replacement units — a fast install skips the careful bedding of the fin against the existing wall surface
- Trim caulked instead of flashed — caulk is a backup, not a primary water management strategy; it degrades faster than most homeowners realize, especially under sustained rain exposure
- Moss and organic buildup at horizontal trim ledges — the long moss season here means anything that traps moisture against wood trim needs a way to shed it, not just resist it once
Get the flashing and sill detail right and the window itself has a long, low-drama life. Get it wrong and even a premium window will let water in behind the wall where nobody sees it until there's a problem.
Our Process on a Wiser Lake Property
1. On-Site Assessment
We look at each opening individually — wall assembly, current flashing condition, exposure direction, and any signs of past moisture intrusion. Wiser Lake homes vary in age and construction, so we don't assume one house matches the next just because they're a few properties apart.
2. Accurate Measurement and Product Selection
We measure for the actual opening, not a nominal size, and we talk through frame material and glass package based on that wall's real exposure — a north-facing wall shaded by trees doesn't need the same spec as a wall taking the brunt of driving rain off the water.
3. Removal and Wall Inspection
When we pull the old window, we check the framing and sheathing underneath for hidden moisture damage before anything new goes in. This is the point where problems that have been building for years actually get found — and fixed — instead of covered back up.
4. Flashing, Sealing, and Set
Sill pan first, then the window, then flashing tape and house wrap integration in the correct shingled order, then backer rod and sealant at the trim line. This sequence is the entire ballgame for long-term performance in a wet climate, and we don't skip steps to save time.
5. Interior and Exterior Finish
Interior trim, insulation at the rough opening, and exterior trim or siding tie-in get finished to match the rest of the home, so the new window doesn't stand out as an obvious patch job.
What Drives Cost on a Custom Window Project
Every project is different, but the same handful of factors move the price up or down. Broad ranges only — an accurate number requires an on-site look.
| Factor | Why It Matters |
|---|---|
| Opening size and shape | Non-standard or oversized openings cost more to source and install correctly |
| Frame material | Vinyl is typically the most budget-friendly; fiberglass and wood-clad run higher |
| Wall condition | Hidden rot or moisture damage found during removal adds repair scope |
| Access | Second-story or hard-to-reach openings take more labor and equipment |
| Glass package | Upgraded low-E coatings or triple-pane glass add per-unit cost |
| Number of windows | Whole-house projects typically bring a better per-window cost than single replacements |
Most homeowners doing a handful of windows are looking at a project that ranges from a modest single-window replacement up to a larger multi-window investment for a full-house upgrade — we'll give you real numbers once we've actually seen the openings.
Maintaining Custom Windows in a Wet, Mossy Climate
A well-installed window still needs some basic upkeep to hit its full lifespan here. A short annual checklist covers most of it:
- Clear debris and moss buildup from window sills and horizontal trim before it holds moisture against the wood or frame
- Check exterior caulk lines at the trim for cracking or separation, especially after a hard winter
- Test that weep holes on the sill (if your window has them) are clear and draining, not packed with dirt or moss
- Look for soft spots or discoloration on interior trim, which can be an early sign of a flashing issue upstream
- Operate each window at least once each season — hardware that sits unused tends to seize or bind faster in a damp climate
Why a Crew That Already Works Wiser Lake Matters
Window installation is a trade where local experience actually changes outcomes. A crew that's worked properties around Wiser Lake and elsewhere in Whatcom County has already seen how the salt air, the rain angle, and the moss season interact with different wall types and window ages common to this area. That's not a marketing line — it shows up in practical decisions, like which flashing detail to use on an older wall assembly, or which frame material makes sense given how much shade and rain a particular wall gets. Contractors unfamiliar with this specific climate profile tend to default to generic specs that may be fine elsewhere but leave gaps here.
We also know this region well enough to keep expectations honest — realistic timelines around our wetter stretches, straightforward answers about what a wall actually needs versus what would just be upselling, and a standard installation approach we don't cut corners on regardless of which product line a homeowner chooses.
If you're weighing custom window options for a home near Wiser Lake, we're glad to take a look and give you a straightforward assessment — no pressure, no upsell script. Use the form below to request a free estimate and we'll go from there.