 Lynden Siding
 New-Construction Windows in Everson: A Different Job Than Replacement
When you're framing a new home or an addition in Everson, the windows you install are not the same product — or the same installation method — as the windows that go into an existing wall during a remodel. New-construction windows come with a nailing fin around the perimeter of the frame that fastens directly to the sheathing before your weather-resistant barrier and siding go on. Get that sequence right and the window becomes part of a continuous water-shedding system. Get it wrong, and you've built a leak path into the wall that won't show up until years later, usually as rot, staining, or a musty smell nobody can pin down.
We install new-construction windows for builders and homeowners throughout the Lynden and Everson area, and we treat this stage of a build as one of the most important on the job — more important, honestly, than most GCs give it credit for. A window opening that's flashed correctly the first time never needs to be revisited. One that isn't can cost far more to fix once siding, trim, and interior finishes are already in place.
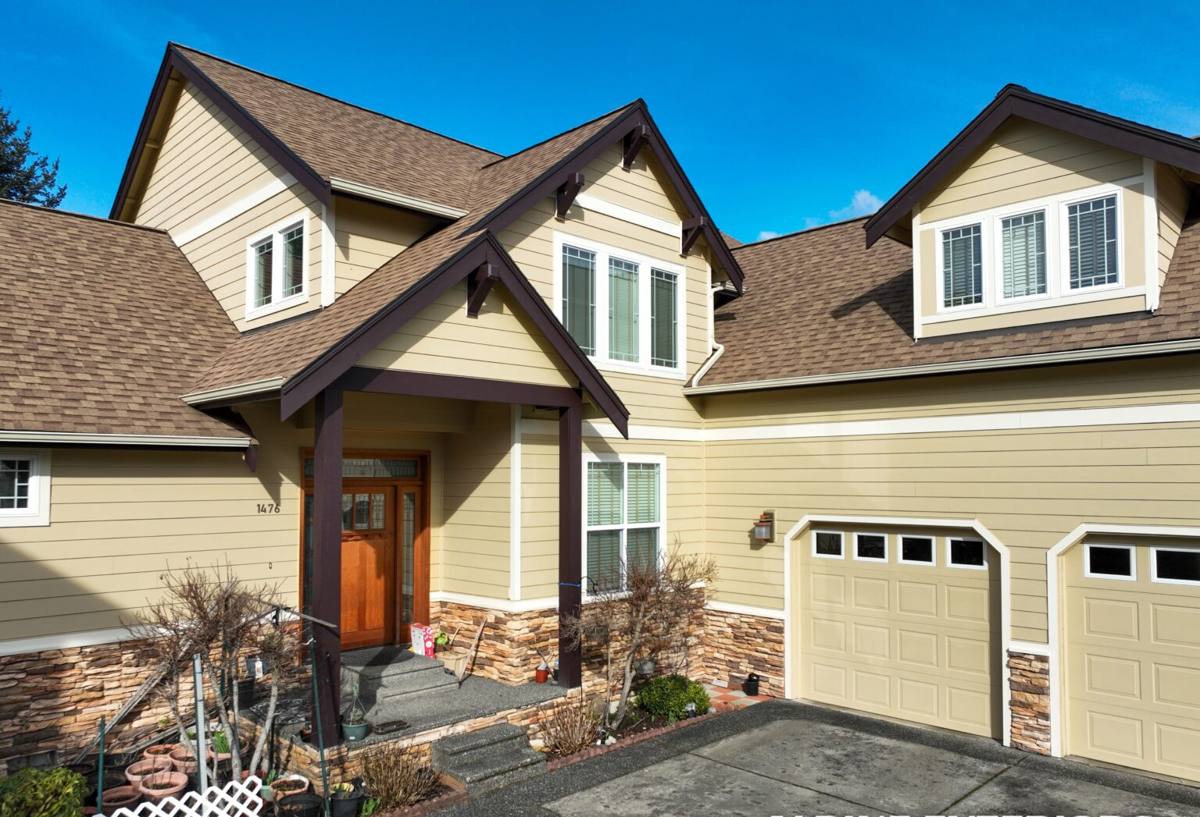
Why Everson's Climate Puts Extra Demands on This Detail
Whatcom County doesn't get extreme weather, but it gets persistent weather, and persistent is what wears out a bad window install. Everson sits inland from the coast, but the same Pacific Northwest pattern still applies here: long stretches of low-intensity rain punctuated by wind-driven storms that push water sideways into wall assemblies, not just straight down. A window flashed only with a bead of caulk around the trim can handle a light shower. It won't hold up to driving rain hitting the same wall for days in a row every winter.
The other factor is how long everything stays damp. Whatcom County's moss season runs a good chunk of the year, and it's not just a roof problem — moss, algae, and mildew all take hold anywhere moisture lingers, including window sills and the wall cavity behind them if water gets trapped instead of shedding out. Add in the humid, salt-influenced air that moves through this part of the county off the Sound, and you've got an environment where any gap in the water management plan gets found out quickly. New-construction windows give us the chance to build that protection in from the start, before siding covers it up.
What This Means Practically
- Sill flashing has to shed water outward, not just block it — a flat or reverse-sloped sill pan will trap moisture instead of draining it.
- Every layer (sill pan, window flange, house wrap, head flashing) has to overlap in the correct shingle-style order so water always moves down and out, never up and in.
- Sealants are a backup, not the primary defense — caulk degrades faster in this climate than most homeowners expect, especially on south- and west-facing walls that take the brunt of wind-driven rain.
What a Correct New-Construction Window Install Actually Involves
There's a specific order of operations that manufacturers publish and that good installers actually follow — not just the parts that are visible after the siding goes on.
- Rough opening check. Confirm the opening is square, level, and sized correctly with the right margin for shimming — before the window ever gets set.
- Sill pan flashing. A sloped, back-dammed sill pan (either a manufactured pan or a properly folded flexible flashing) so any water that gets past the window has somewhere to go besides the framing.
- Window placement and fastening. The window is set into the opening, checked for square and plumb, and fastened through the nailing fin per the manufacturer's schedule — not just at the corners.
- Flange and flashing tape integration. Self-adhered flashing tape over the side and head flanges, lapped correctly with the house wrap above and below so the whole wall reads as one continuous water barrier.
- Head flashing. A drip cap or head flashing above the window directs water around the opening rather than down the face of it.
- Interior sealing. Low-expansion foam or backer rod and sealant around the interior perimeter for air sealing — this affects energy performance and condensation, not just water intrusion.
- Final inspection before siding. This is the last point anyone can visually confirm the flashing is correct. Once siding is up, it's invisible.
Skipping or rushing any one of these steps is exactly how a window that looks fine for the first few years starts causing problems in year six or seven — usually right around when the original builder is long gone and it's on the homeowner to sort out.
Choosing the Right Window for a New Build in This Area
Material choice matters less than installation quality, but it's still worth getting right for your budget and the local climate. None of these options are wrong — they're trade-offs, and the right one depends on your build.
| Frame Material | Moisture Behavior | Maintenance | Typical Fit |
|---|---|---|---|
| Vinyl | Won't rot; performs well in wet climates when installed correctly | Low — no painting or sealing needed | Most cost-conscious new builds and spec homes |
| Fiberglass | Very stable in temperature and moisture swings; holds paint well if a custom color is wanted | Low to moderate | Higher-end new construction where longevity and a specific finish matter |
| Wood-clad (aluminum or vinyl-clad exterior) | Exterior face resists weather; any breach in the cladding exposes wood to our damp climate | Higher — cladding seams and any exposed wood need monitoring | Custom homes prioritizing a wood interior look |
For energy performance, Washington's state energy code sets minimum requirements for window U-factor and solar heat gain, and most new builds here land on double-pane, low-E glass as the practical standard. Triple-pane is available and does help with comfort near large window walls, but in our relatively mild coastal climate it's often a bigger cost jump than the energy savings justify — worth discussing based on your specific design rather than assuming you need it.
Our Process for New-Construction Window Installs
We work directly with builders, or with homeowners acting as their own GC, and we fit into the framing schedule rather than disrupting it.
- Plan review: We check window schedules and rough opening sizes against the actual framing before installation day, so there are no surprises.
- Pre-install walk: We verify house wrap sequencing and opening prep are ready for windows before we show up to set them.
- Installation to manufacturer spec: Every window goes in following the manufacturer's published flashing and fastening instructions — this also keeps the manufacturer's warranty intact, which is voided by a lot of shortcuts that aren't obvious to an untrained eye.
- Photo documentation at each flashing stage: Since flashing gets covered by siding, we document it while it's still visible, so there's a record of what's behind the wall.
- Coordination with siding: Because we also install siding, we control both sides of this handoff — no gap between "the window guy's done" and "the siding guy's turn," which is where a lot of water problems on new builds actually originate.
Cost Factors for New-Construction Windows
Pricing on a new build depends on more than the window unit itself. Broad ranges below are for planning purposes — your actual quote depends on the specifics of your project.
| Factor | Why It Moves the Price |
|---|---|
| Window count and size | |
| Frame material | Vinyl is generally the most affordable; fiberglass and wood-clad cost more per unit |
| Glazing package | Standard double-pane low-E vs. upgraded glass for noise, solar control, or triple-pane performance |
| Access and building height | Second-story or hard-to-reach openings take more time and equipment |
| Flashing complexity | Standard wall openings install faster than windows near corners, decks, or roof-wall intersections |
As a rough planning figure, expect standard vinyl new-construction windows, installed, to run in the low-to-mid hundreds of dollars per unit, with fiberglass and wood-clad options running higher. A full quote after reviewing your plans will always be more accurate than any generic number.
Why It Matters to Hire a Crew That Already Works in Everson
Everson and Lynden share the same building department and permitting expectations, and inspectors here know what a correctly flashed window opening looks like before siding goes on — because they've seen the alternative fail. A crew that regularly works this area knows the inspection checkpoints, knows which details local inspectors specifically look for, and doesn't have to learn the region's rain patterns and moss-prone conditions on your project. We've built our flashing and sealing practices around what actually holds up here, not around a generic install method that works fine in a drier climate and fails in ours.
There's also a practical scheduling benefit: coordinating window install timing around Whatcom County's wet stretches — getting windows in and the wall dried in before a multi-day rain system moves through — is a local knowledge problem as much as a skill problem.
Quick Checklist Before Your Windows Go In
- Rough openings confirmed square, level, and correctly sized against the window schedule
- House wrap installed and ready to integrate with window flashing tape
- Sill pan flashing specified and on-site — not substituted with caulk alone
- Window U-factor and SHGC values confirmed against Washington energy code requirements
- Installer following manufacturer instructions to keep the product warranty valid
- Clear handoff plan between window installation and siding crew
If you're framing a new home or addition in Everson and want windows installed the way this climate actually requires — not just the way that's fastest — we'd be glad to walk your plans and give you a straightforward, no-pressure estimate. Use the form below to get started.